How to change Dremel bits? Maybe you are searching for an effective solution to this question, as you have purchased your Dremel rotary tool and are now confused about how to change the Dremel bits. Don’t worry; you have found the right article to assist you.
The Dremel tool is a versatile and handy tool used for various tasks, such as cutting, grinding, and sanding. Regular maintenance and changing the bits of a Dremel tool are crucial to ensure optimal performance and safety. Changing the bits can be simple and straightforward if you follow a few basic steps and safety precautions. In this guide, we will provide an outline of the steps required to change a Dremel bit and some necessary safety precautions to keep in mind. Whether you are a seasoned DIY enthusiast or starting out, this guide will help you change your Dremel bits quickly and easily.
In this article, we will provide you with easy and simple steps on how to change Dremel bits. After reading this article changing Dremel bits from your rotary tool will be an effortless task.
How To Change Dremel Bits
The most exciting thing about a Dremel tool is that it has a tool-less bit changing. You won’t need anything but the new bit that you plan to put on the tool and bare hands.
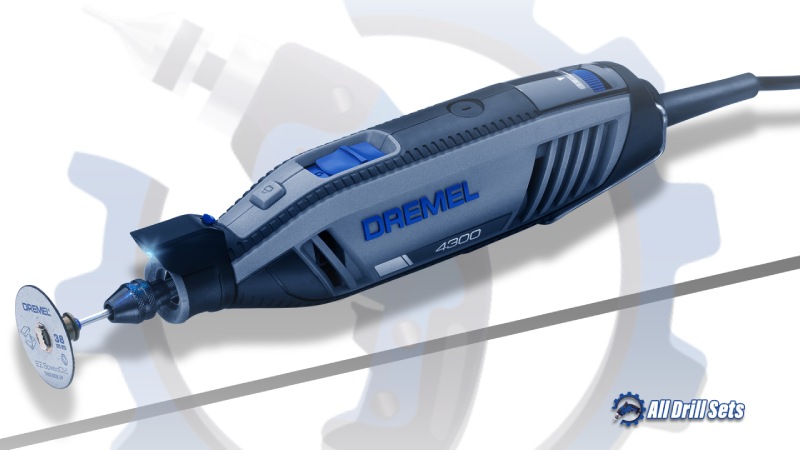
Here we have discussed 5 easy steps to change the Dremel bits.
- Step 1: Turn Off and Disconnect the Dremel Tool
- Step 2: Press Down Shaft Lock Button
- Step 3: Unscrew The Metal Collet
- Step 4: Removing The Plastic Housing
- Step 5: Remove The Metal Collet
NOTE: Dremel also makes angle grinders, oscillating multi-tool, etc. But for this tutorial, we are going to talk about rotary tools.
Let’s discuss each step in detail.
Step 1: Turn Off and Disconnect the Dremel Tool
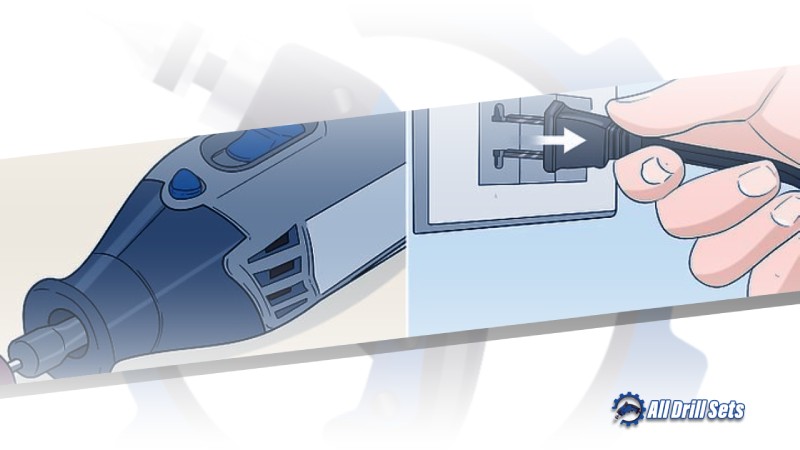
Obviously, you know that, but again, you MUST make sure to disconnect the Dremel tool from any power source before removing it a bit. If your Dremel rotary tool is a corded one, make sure that you have unplugged it. If you are using a cordless one, make sure to remove any batteries before you start to fiddle around with it.
Like we said, if you are an experienced power tool user, then this is all going to be reasonably common-sense stuff. Still, it’s always better to remember the safety precautions, especially when you are working with power tools such as cordless drill sets, as they can hurt severely.
Step 2:Press Down Shaft Lock Button
The foremost thing that you need to do is identify the shaft lock button. You can find it near the front part of the tool.
It can be different in color from tool to tool. In some models, it is blue; in some, it is silver. But it is easy to locate as it is the large button right near the front end. Please press the button down and hold it, and that will loosen the bit.
Step 3: Unscrew The Metal Collet
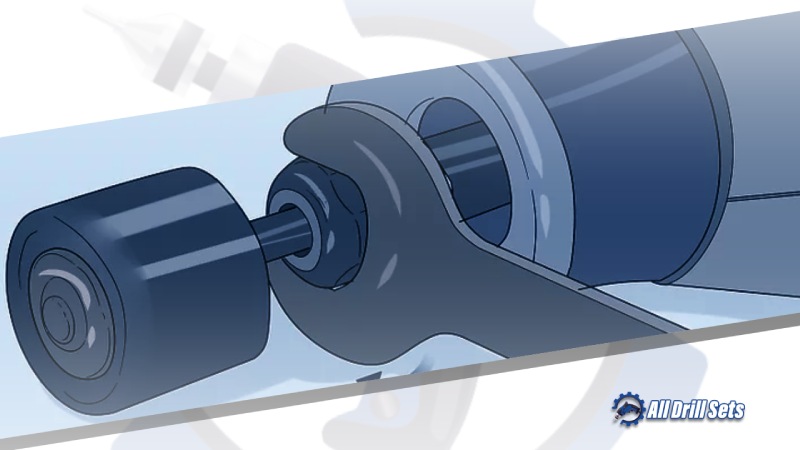
You will find the metal collet at the front of the tool, which keeps the bit in place. Use your free hand to start slowly unscrewing the collet at the end while pressing the shaft lock button firmly.
It should come off without much of a hassle. But depending on your tool’s state, you may need to put in a bit of elbow grease. Even if it seems funny at first, keep going at it; eventually, it will come loose.
Step 4: Removing The Plastic Housing
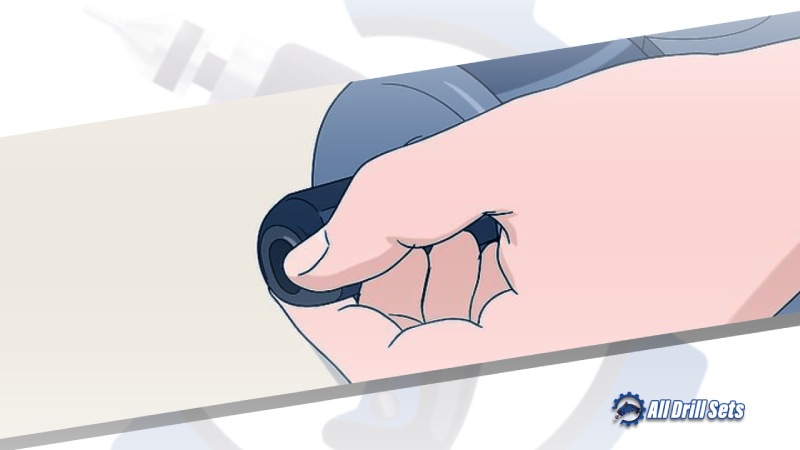
You will find the housing cap at the front of your Dremel tool. This provides an area to grip the tool and provides some protection for the internal parts of the tool. Nevertheless, when you need to change the tool’s bit, you have to remove it. Thankfully, the task is a straightforward one. Much like with the metal collet, you just have to unscrew it with your hands.
Step 5: Remove The Metal Collet
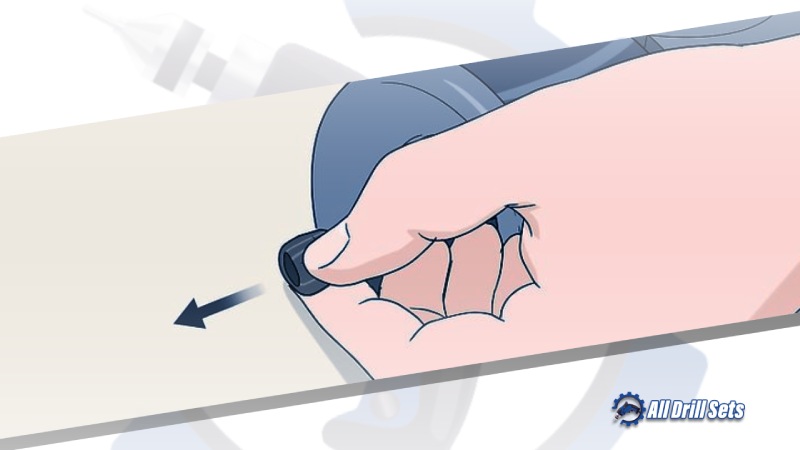
After the plastic housing is gone, you can entirely slip the metal collet off of the tool. Once the metal collet is away from the tool, ensure to put it into the metal collet nut. This is very vital.
Attaching A Dremel Bit
When attaching your new Dremel bit, you kind of have to work backward. But there are some modifications, and we will highlight those factors.
Step 1: Putting The Bit On
In the last section, we talked about putting the metal collet into the metal collet nut. And, the next step is to attach the bit that you want to insert into your Dremel tool onto the end of the collet. DO NOT FORGET to make sure that it is securely attached.
Step 2: Reattach the Plastic Housing
There were some variations when you attach Dremel bits. The most important one is that you do the plastic housing first. Reattach the plastic housing that you unscrewed in the earlier steps. In addition, you have to resist your base instinct to tighten it. You will reattach the housing and don’t tighten it just yet; you will do it later.
Step 3: Inserting The Collet Nut
Insert the metal collet nut into the shaft of your Dremel rotary tool. You can begin to tighten it by hand. When you feel that the bit is placed securely, press the shaft lock button we mentioned at the beginning of the article. Remember what we said; you have to push, not hold.
Step 4: Tighten The Housing
Alright, your bit is back into place, and now you can tighten the plastic housing. Ensure that it is very tight and very secure. Congratulations, you have successfully changed your Dremel bit.
Safety Precautions when changing a Dremel bit:
- Always unplug the Dremel before changing the bit.
- Use caution when handling the tool and the bits to avoid injury.
- Always tighten the collet nut securely to avoid accidents.
- Make sure the new bit is compatible with your Dremel tool.
- Use protective gear, such as gloves, when using the Dremel to protect your hands.
- Keep the work area clean and well-lit to avoid tripping or dropping the tool.
- Follow all manufacturer’s instructions and guidelines for the safe use of the Dremel tool.
Frequently Asked Questions
-
Are Dremel Bits Universal?
Yes, they are universal. This is one of the main selling points of this tool. You can use many different attachments and swap them out with little hassle.
-
Why is it important to change Dremel bits?
Changing the bits on your Dremel tool is important for ensuring optimal performance and avoiding damage to the tool. Worn or damaged bits can cause the tool to overheat, vibrate excessively, or produce poor-quality results.
-
How often should I change the Dremel bits?
The frequency with which you should change your Dremel bits will depend on how often you use the tool and the type of work you are doing. If you use your Dremel frequently, you may need to change the bits more often. If you notice that your bits are getting worn or damaged, it’s time to replace them.
-
What happens if I don’t tighten the collet nut enough?
If the collet nut is not tightened enough, the bit may come loose during use, which can be dangerous. Make sure to tighten the collet nut securely to avoid accidents.
-
Can I use any wrench to change the Dremel bits?
No, you should use the wrench that came with your Dremel tool to change the bits. This wrench is designed specifically for your tool and is the best tool for the job.
-
Are There Different Collet Sizes?
Yes, collets have multiple sizes. To be more specific, you can find 4 different metal colts, including 1/8 inch, 3/32 inch, 1/16 inch, and 1/32 inch sizes.
-
What kind of protective gear should I use when changing the bits?
You should use gloves or other protective gear when changing the bits on your Dremel tool to protect your hands. Additionally, you should wear eye protection to avoid injury to your eyes from flying debris.
-
My Dremel Bit Doesn’t Fit; what Do I Do?
First of all, don’t panic If your Dremel bit doesn’t seem to be fitting. This is a pretty common issue. And, like every common issue, there is a straightforward solution.
Just repeat the steps in the “remove section” before you can see inside the collet nut. Check whether the collet is pinched inside the collet nut or not. If it is inside, that is causing the issue. You can fix that issue and try again.
Suggested Dremel Bits
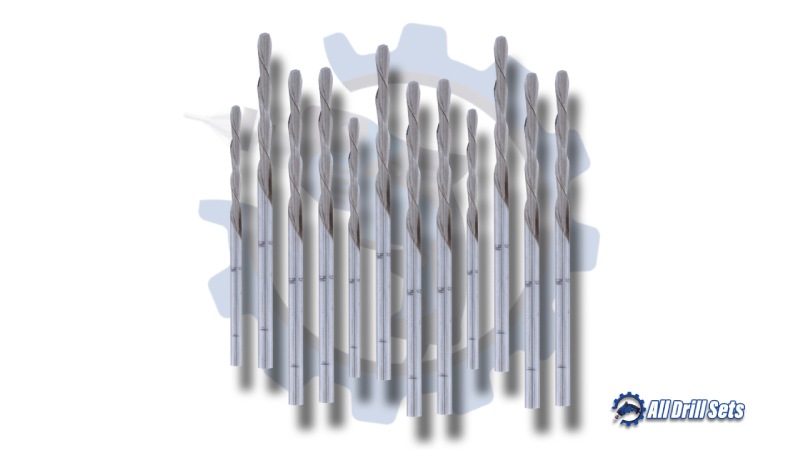
So, now that you know how to change Dremel bits, it’s time to purchase one. We have listed some of the best in the market.
This drill bit set is suitable for drilling into wood, soft plastic metal, and plexiglass. You will get seven metal drill bits for precise drilling in this set. These bits are best for woodworking and masonry drilling and come in a convenient small tool accessory box. Changing or replacing these Dremel bits is a piece of cake.
This is one of the best brad point bits that will enhance your woodworking experience. The bits are compatible with all Dremel rotary tools. The Titanium-coated brad points remain in the center and begin drilling immediately.
This 7-piece set contains a bit that is perfect for drilling into soft materials. They are Ideal for moto-tools, flex shaft tools, and cordless tools. These bits are made of high-speed steel. The set comes in a convenient storage case.
Conclusion
So, now are you confident enough to change the Dremel bits? We hope you are. This is a pretty straightforward process, and we hope our step-by-step guide has helped you. Whether you are an experienced DIY enthusiast or just starting out, changing Dremel bits is a simple process that can be done with a little know-how and the right tools. So, next time your Dremel bits are in need of changing, remember to follow the steps in this guide for the best results.
Topics you may find useful
How To Sharpen Brad Point Drill Bits
How To Hang Drywall On Metal Studs
